How to Safely Mount Overhead Garage Storage Racks Without Cracking Your Ceiling Joists

Hanging 600 pounds of heavy storage directly over your vehicle hood? Here is how to find joist centers and span loads safely without risking a ceiling collapse.
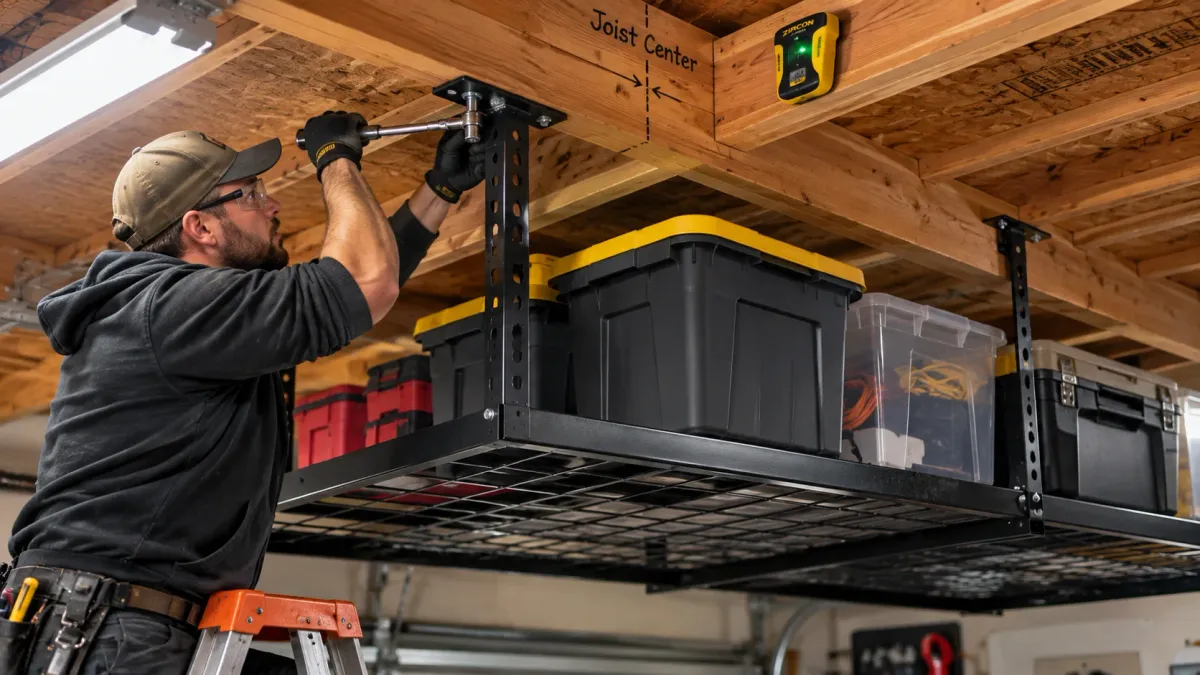
Table of Contents7 Sections
- 01.Know Your Ceiling Anatomy: Joists vs. Trusses vs. I-Joists
- 02.Step 1: Finding Dead Center (The Needle & Pilot Hole Trick)
- 03.Step 2: The 2x4 Bridging Technique (The Pro Safety Net)
- 04.Hardware Upgrade: Toss the Stock Kit Lag Screws
- 05.The Golden Loading Rules & Clearance Math
- 06.The Bottom Line on Overhead Storage
- 07.Organizing Your Ceiling Layout
When you load eight heavy plastic storage totes containing holiday decorations, camping tents, and spare automotive parts onto a metal rack suspended above your car, structural physics does not care about optimism. The difference between secure overhead storage and a catastrophic roof framing failure comes down to whether your lag bolts bite the dead center of solid lumber or split the edge of a ceiling joist.
Most retail installation manuals make ceiling mounting look simple: hold a cheap electronic stud finder against the drywall, run a lag screw up into the wood, and hang your frames.
In real garages, finished drywall conceals sistered framing, truss tie plates, and manufactured I-joists that demand careful verification before you hang 600 pounds overhead. Follow this practical framework to locate framing dead center, reinforce load distribution, and mount ceiling storage that never sags.
Overhead Rack Fastening Options Compared
Compare structural security, installation time, and ceiling adaptability before drilling.
Direct Lag Bolt to Joist
Clean solid-sawn framing with joists running in the exact direction you need
- Installs directly with included hardware
- Keeps racks flush against drywall
- Forces fixed rack placement
- Splits joist edges if pilot holes miss center by 3/8-inch
2x4 Perpendicular Bridging Cleat
Roof trusses, non-standard joist spacing, and drywall with hidden framing gaps
- Spreads heavy point loads across 3 to 4 framing members
- Lets you position rack anywhere
- Lowers rack clearance by 1.5 inches
- Leaves exposed wood cleats visible on ceiling
Ceiling-to-Wall Hybrid Strut Tie
Racks dropped 36+ inches from high 12-foot garage ceilings
- Triangulates ceiling drops back into perimeter wall studs
- Eliminates 100% of frame sway
- Consumes upper perimeter wall space where you might hang pegboard or shelving
Know Your Ceiling Anatomy: Joists vs. Trusses vs. I-Joists
The American Wood Council (AWC) National Design Specification for Wood Construction cautions that standard roof truss bottom chords are engineered primarily for tension loads, requiring careful load distribution across multiple framing members.
Before driving fasteners, look inside your attic or check structural blueprints to identify what holds up your ceiling:
- Solid-sawn dimensional joists (2x6 or 2x8): Common in garages with living space above. These solid lumber beams handle downward tension loads reliably, allowing you to anchor 3-inch lag screws directly into wood meat.
- Engineered roof trusses (2x4 bottom chords): Common in single-story garages with open attics. The bottom 2x4 chord holds ceiling drywall in tension, not heavy storage loads. Limit added dead weight on engineered light-frame residential trusses to a maximum of 250 to 300 pounds total spread across multiple framing bays.
- Wood I-joists (TJI): Manufactured beams with thin OSB vertical webs and narrow lumber flanges. Driving thick lag screws into the edge of a bottom flange easily splits laminated veneer lumber. Always use bridging plates across I-joist framing.
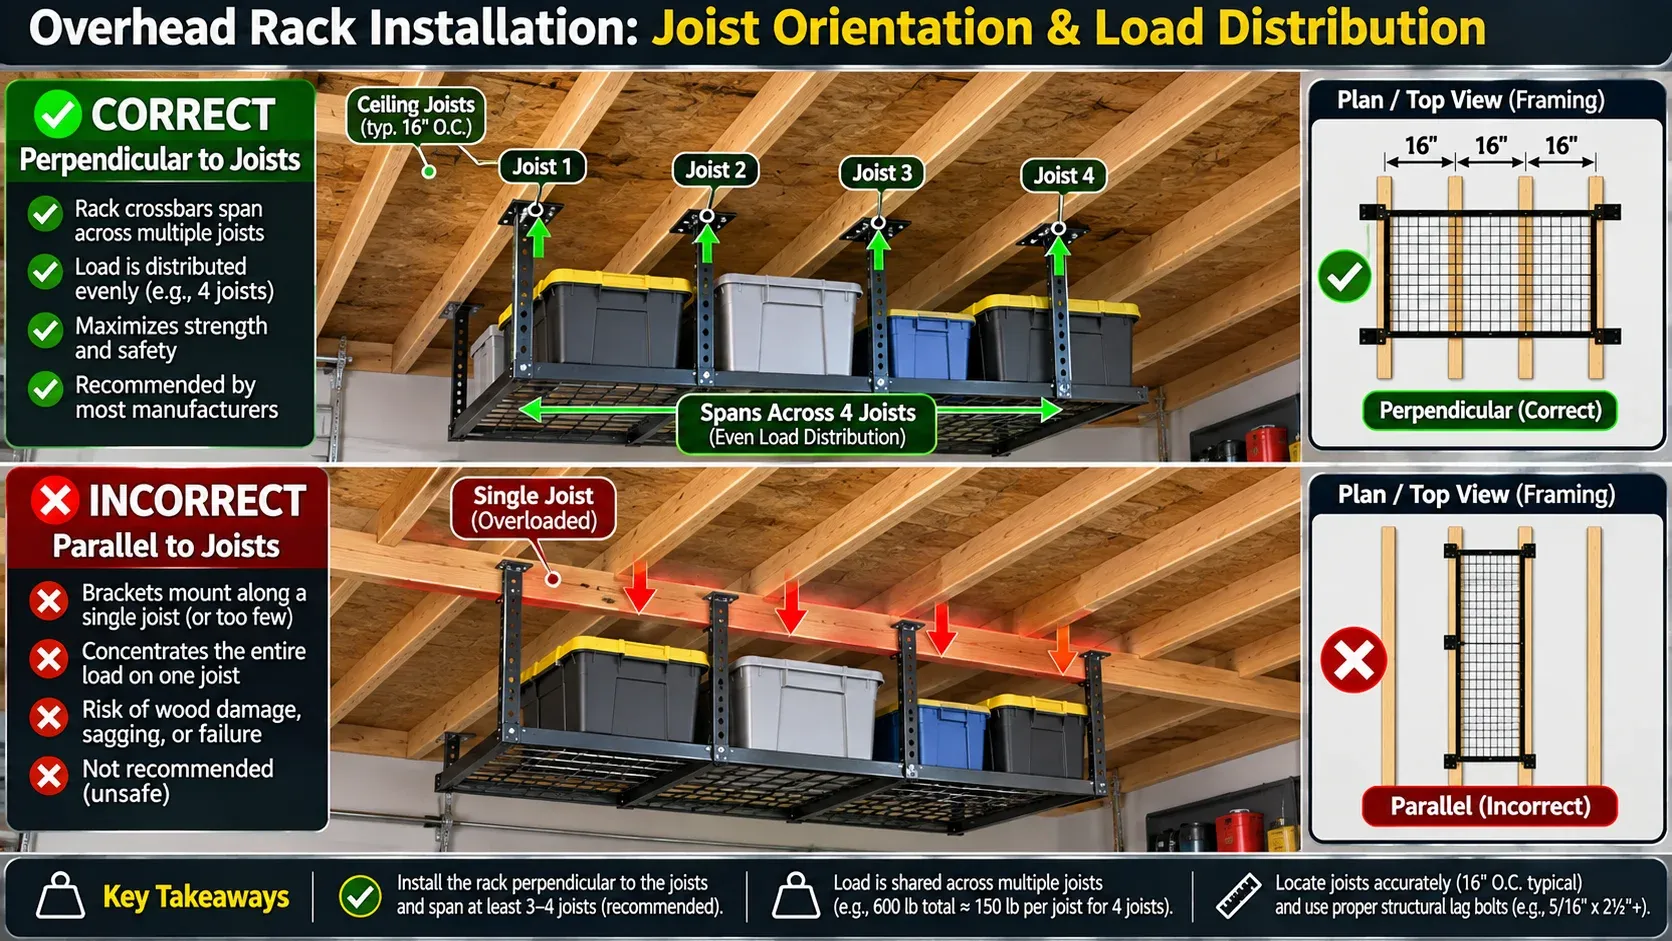
Structural 3D engineering diagram showing ceiling joist orientation for overhead rack mounting, top panel showing correct perpendicular installation spanning across 4 wooden ceiling joists with load distributed evenly, bottom panel showing dangerous parallel installation overloading single joist with red X, clean architectural render.
Step 1: Finding Dead Center (The Needle & Pilot Hole Trick)
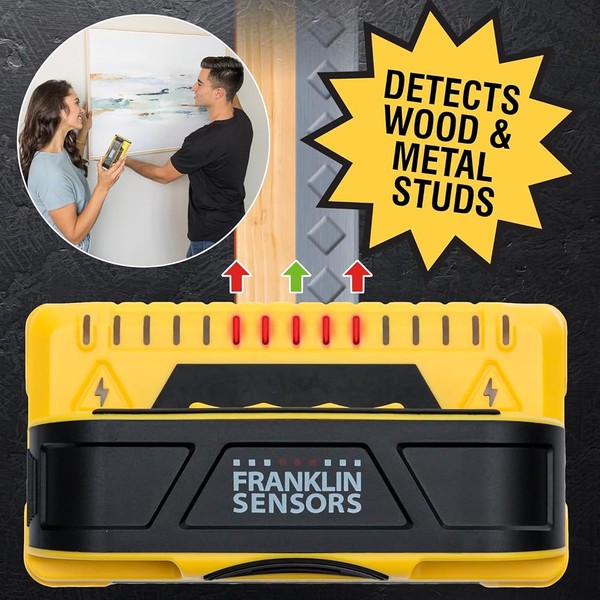
Franklin Sensors ProSensor M150 Center Stud Finder
Best For: Detecting ceiling joist edges and dead-center in a single sweep
Est. Price: $34.95
"Missing the dead-center of a ceiling joist causes catastrophic rack collapses; this multi-sensor tool shows you exact framing edges with zero guesswork."
- +9 multi-sense precision LEDs display the full 1.5-inch width of joists instantly
- +Eliminates the sliding calibration errors typical of cheaper single-sensor models
- +Accurately reads through textured and double-layer garage drywall
- -Bulky form factor makes it tough to fit in tight ceiling-to-wall corners
- -Runs on two AAA batteries that require periodic replacement
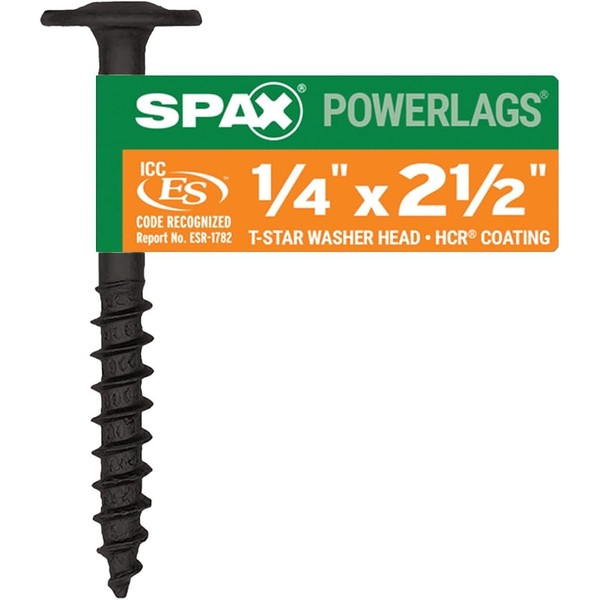
SPAX 5/16-Inch x 3-Inch T-Star Washer Head Powerlag Screws (50-Pack)
Best For: Anchoring heavy ceiling brackets into lumber without pre-drilling splits
Est. Price: $28.50
"Throw away the cheap pot-metal lag screws bundled in rack packaging; these German-engineered structural lags ensure your overhead storage never falls."
- +Patented thread serrations drive cleanly into framing lumber with zero pre-drilling splits
- +Integrated wide washer head provides enormous clamping surface against steel brackets
- +Heat-treated Grade 5 equivalent steel resists high shear and withdrawal loads
- -Requires a T-40 Torx drive bit (impact driver recommended over hand ratchets)
- -Higher cost per fastener than cheap zinc lag bolts included in rack boxes
A standard $20 electronic stud finder identifies where drywall density shifts, but it frequently reads false positives on drywall tape seams, electrical conduit, and metal corner bead.
Never rely solely on a beeping stud finder when hanging heavy overhead storage.
- Sweep and mark boundaries: Run your stud finder across the ceiling and mark both edges of the joist where the sensor triggers.
- Confirm with a 1/16-inch exploratory drill bit: Chuck a long, thin 1/16-inch drill bit into your cordless drill. Drill test holes spaced 1/4-inch apart horizontally across the drywall between your marks.
- Feel for framing resistance: Drywall offers zero resistance; your drill bit pops through in half a second. When the bit hits solid framing lumber, you feel immediate mechanical drag and see wood shavings spiral down the flutes.
- Locate left and right edges: Drill until you break through the left air gap, then move right until you hit the right air gap. Mark the exact midpoint between the two hollow points; that represents your dead center.
Step 2: The 2x4 Bridging Technique (The Pro Safety Net)
If your ceiling joists run parallel to your garage door but you want to hang your 4x8 storage rack running perpendicular, direct lag bolting is impossible.
Solve this framing layout challenge by installing perpendicular 2x4 bridging cleats:
Cut two pieces of straight structural 2x4 lumber to 52 inches in length. Hold the 2x4 flat against the drywall, running perpendicular across three or four ceiling joists.
Drive two 5/16-inch by 4-inch heavy-duty structural wood screws through the 2x4 and drywall directly into the dead center of every joist it crosses.
Now you have a solid, load-bearing wood beam firmly anchored across four framing members. You can bolt your overhead rack mounting brackets into the face of this 2x4 cleat anywhere along its length without worrying about joist spacing gaps.
Hardware Upgrade: Toss the Stock Kit Lag Screws
Most overseas storage rack kits supply soft Grade-2 lag screws with small hex heads. Driving these screws into seasoned Douglas fir with a modern cordless impact driver frequently shears the bolt head clean off, leaving a broken shank stuck in your joist.
Discard the generic hardware and visit your local lumber yard for GRK RSS Structural Screws or FastenMaster TimberLOK fasteners.
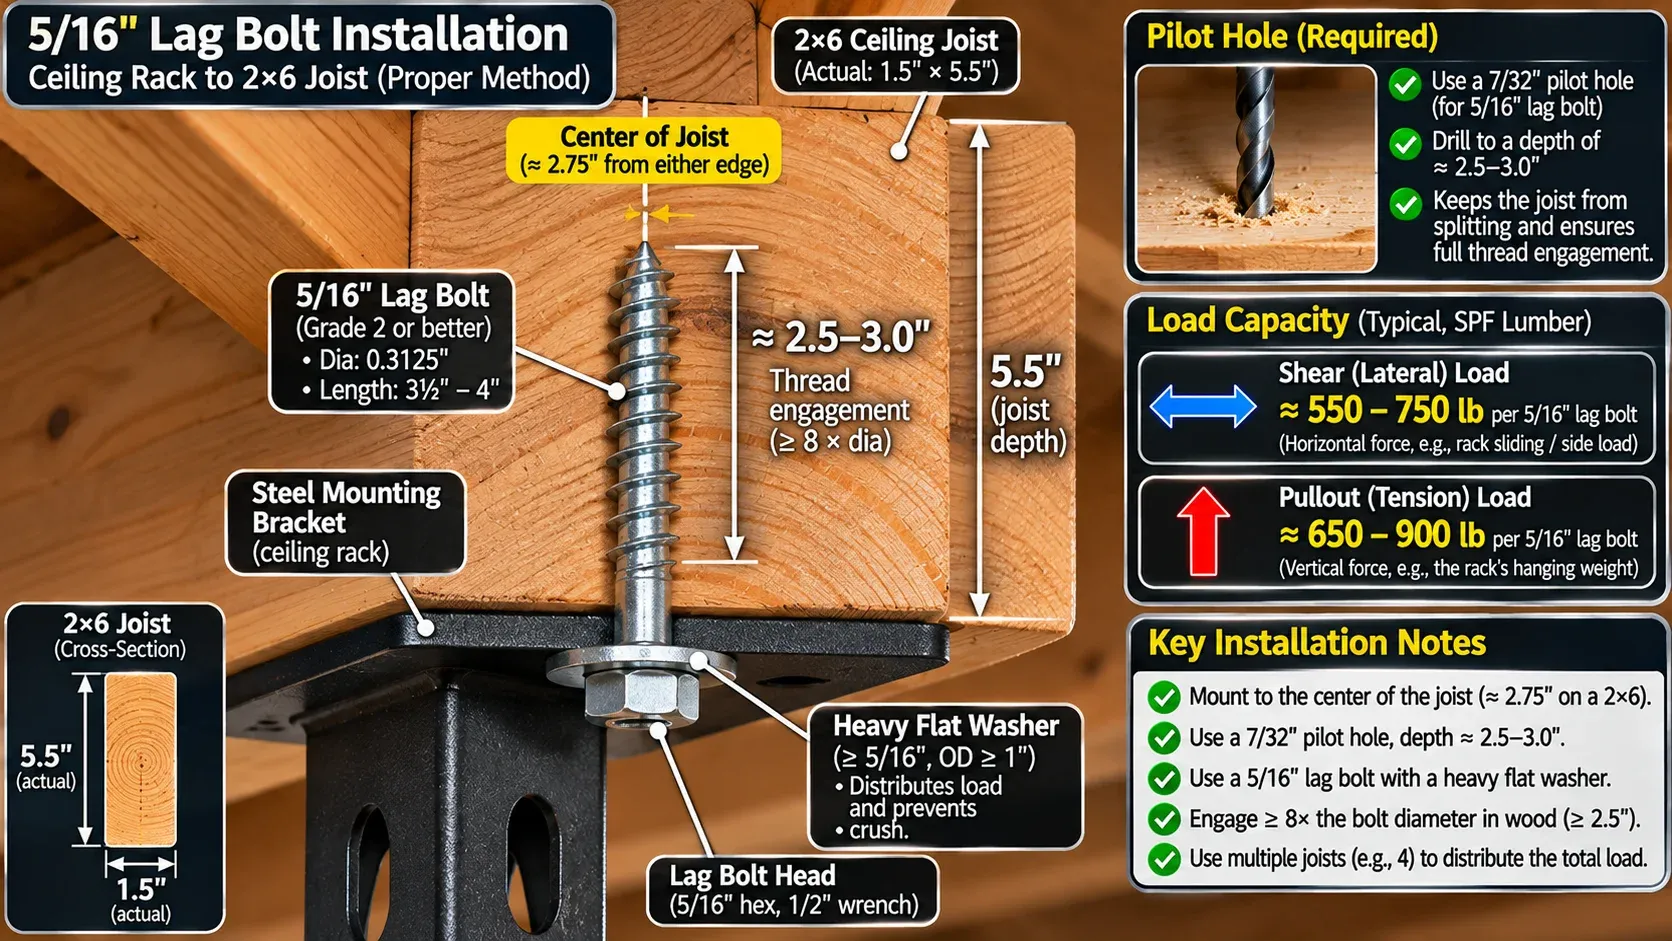
Detailed cross-section illustration of a heavy 5/16-inch steel lag bolt driven into the center of a 2x6 wooden ceiling joist with predrilled pilot hole, full thread engagement, heavy flat washer flush against steel mounting bracket, callout arrows showing shear vs pullout load limits.
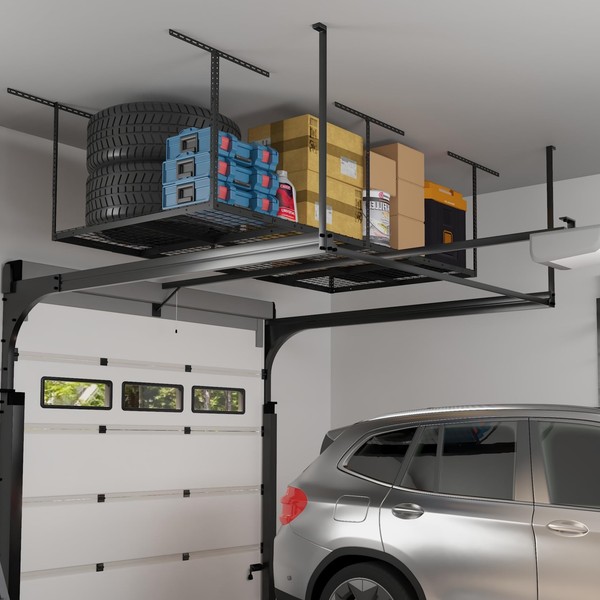
FLEXIMOUNTS GR48M 4x8 Overhead Garage Storage Rack
Best For: Storing seasonal totes and bulky equipment safely overhead in standard garages
Est. Price: $169.99
"The industry benchmark for ceiling storage. Upgrade the ceiling screws and follow proper joist math for a rock-solid overhead platform."
- +Heavy-gauge cold-rolled steel construction supports up to 600 lbs of gear
- +Adjustable ceiling drop brackets range from 22 to 40 inches to clear obstacles
- +Integrated diagonal wire grid shelves lock into frame crossbeams to prevent rattles
- -Stock lag bolts in hardware pack strip easily under high-torque impact drivers
- -Assembling and leveling the 4x8 perimeter frame demands two pairs of hands
Heat-treated structural screws feature a built-in washer head and sharp knurled threads that pull framing tight without pre-drilling pilot holes or splitting dry lumber.
The Golden Loading Rules & Clearance Math
Before hanging brackets, measure the travel path of your overhead garage door. Open the door completely and measure the clearance between the highest point of the upper door roller and the ceiling drywall.
Maintain a minimum of 4 inches of clearance between the bottom frame of your storage rack and the raised garage door panels. If you fail to account for the door radius, your automatic opener will drive the top door section straight into your rack, bending tracks and burning out opener gears.
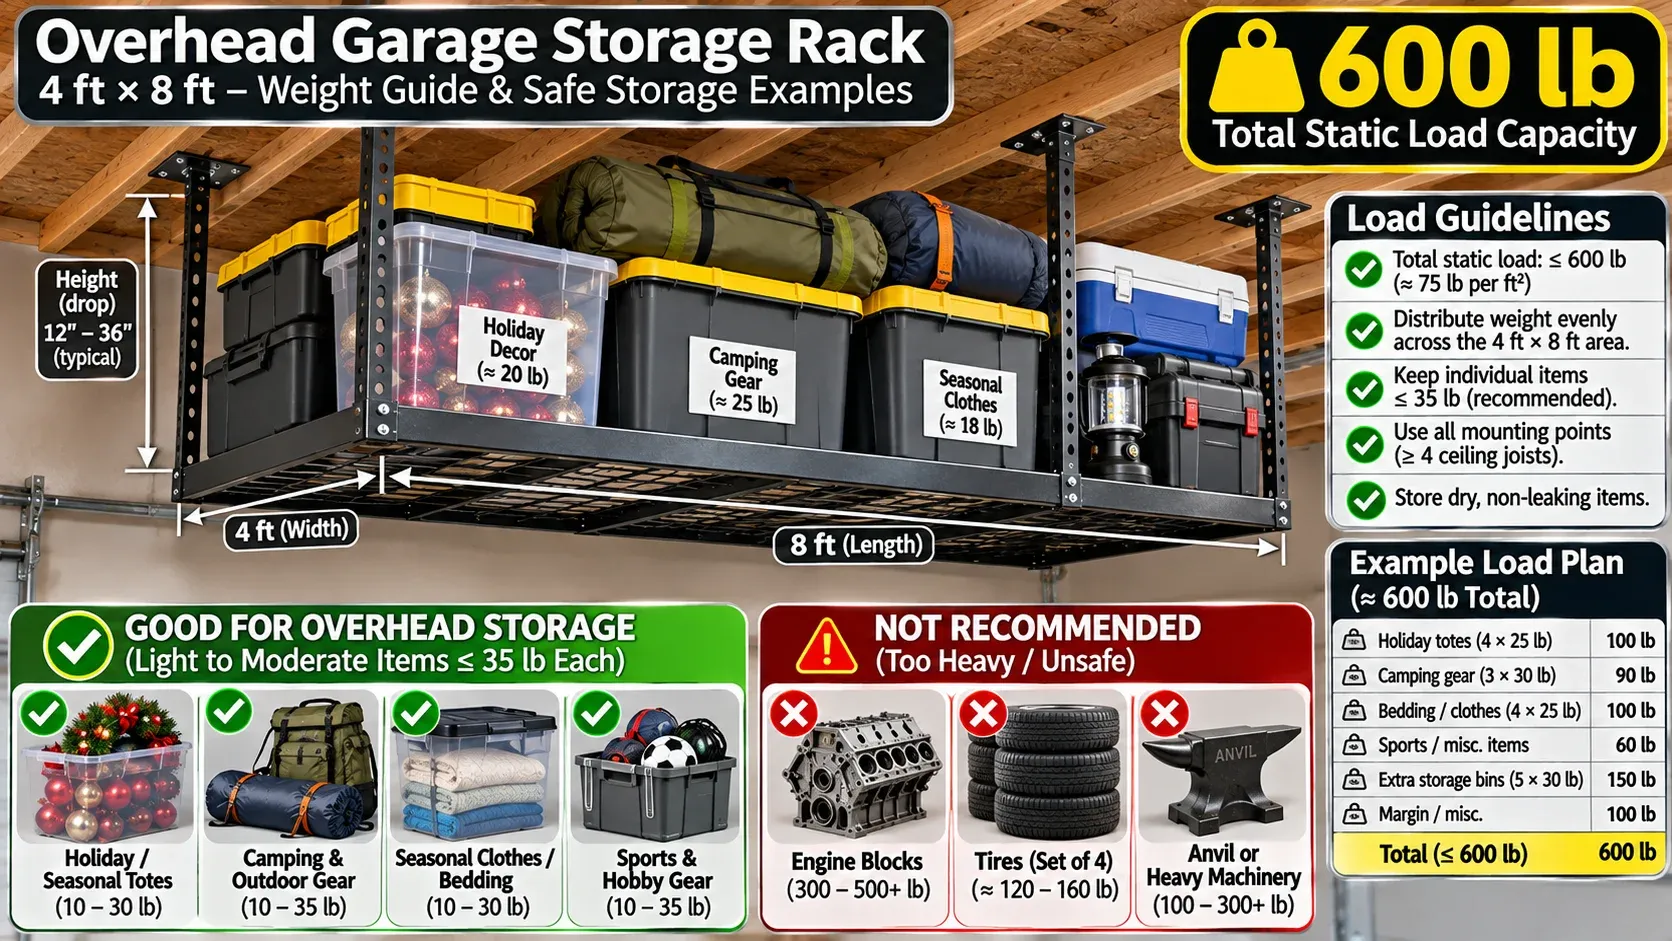
Clean infographic of an overhead 4x8 garage ceiling rack with color-coded weight zones, green checks for seasonal holiday totes and camping gear under 35 lbs, red warning icons for heavy engine blocks tires and anvil weights, bold 600-lb total static load capacity badge.
Follow the 60/40 loading rule across the wire grid:
- Place heavy items (spare automotive tires, floor jacks, toolboxes) along the outer perimeter edges directly above the vertical drop downposts.
- Keep the center 4 feet of the rack reserved for bulky, lightweight items like sleeping bags, plastic storage bins, and holiday wreaths. This loading layout prevents the center crossbeams from developing permanent sags over summer heat cycles.
The Bottom Line on Overhead Storage
Never hang 500 pounds above your family vehicles on guesswork.
Spend twenty minutes mapping joist edges with a 1/16-inch exploratory drill bit, install 2x4 bridging cleats across multiple framing members if your layout requires it, and anchor your racks with hardened structural screws. You will double your garage floor space and sleep comfortably knowing your ceiling framing can handle the load.
Organizing Your Ceiling Layout
Plan your overhead storage zones carefully to keep access paths safe.
If you are organizing your electrical and pneumatic lines along the ceiling, install self-retracting drops using our guide on clear the clutter: overhead retractable cord and air hose reels.
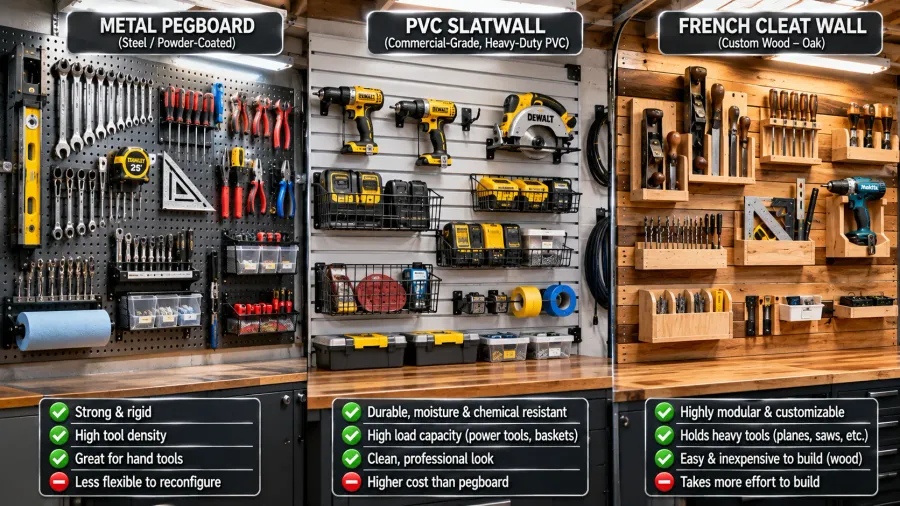
Combine overhead racks with vertical wall storage by exploring our comparison of wall storage: pegboard vs. slatwall vs. French cleat.
And if you want maximum vertical clearance above your racks, consider switching to an ultra-compact opener with our guide on garage door openers: chain vs. belt vs. wall-mount jackshaft.

Hank Miller
Hank is a master craftsman and DIY mechanic based in Ohio. He tests workshop equipment, garage floor coatings, and power tools under brutal, real-world workshop conditions, with zero paid brand sponsorships.