The 2-Car Garage Lighting Blueprint: Why Deformable Bulbs Fail (And the Proper Lumen Math)

Tired of clamping a flashlight between your teeth while leaning into a dark engine bay? Here is how to calculate lumens and layout linkable LEDs to eliminate shadows.
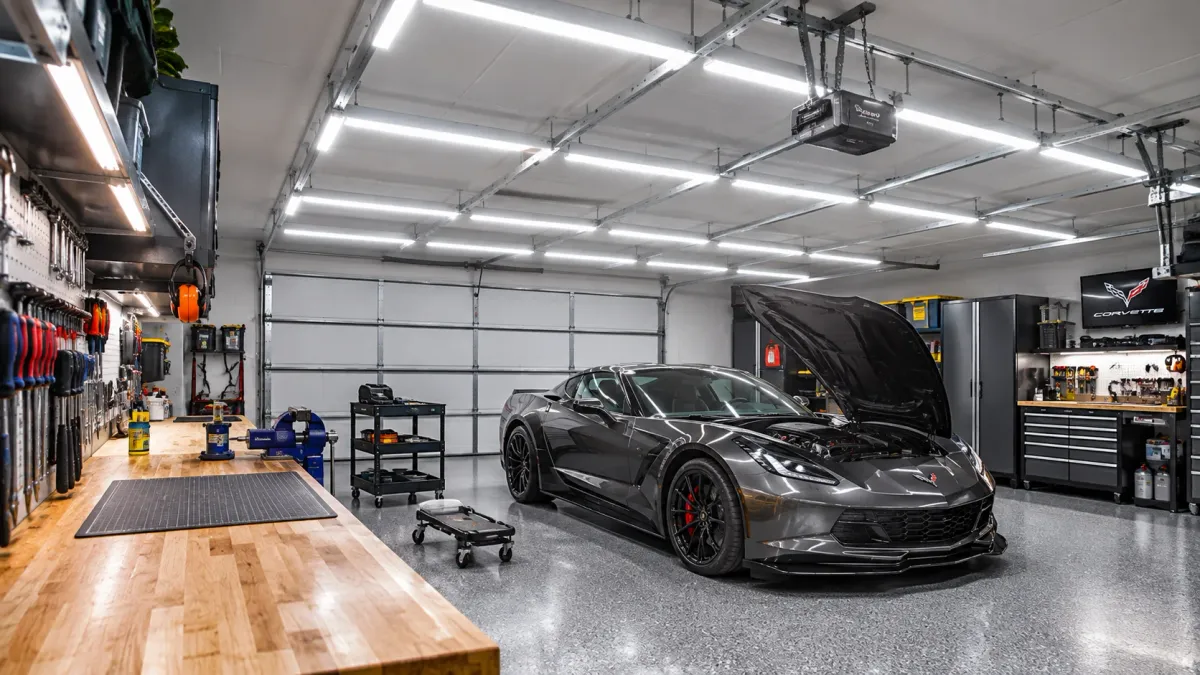
Table of Contents8 Sections
- 01.The Myth of the “Deformable Trilight Bulb”: High Lumens, Terrible Throw
- 02.The Lumen Formula: How Much Light Do You Actually Need?
- 03.Color Temperature & CRI: Why 6500K Is Ruining Your Eyes
- 04.The Linkable Strip Solution: Daisy-Chaining 4-Foot Fixtures
- 05.The Perimeter Grid Layout (Where to Hang Your Lights)
- 06.3 Costly Mistakes When Installing Garage Lighting
- 07.The Bottom Line on Workshop Lighting
- 08.Integrating Your Workshop Electrical Drops
You screw a 15,000-lumen tri-light folding bulb into your central ceiling socket, step back, and squint at the blazing white sphere overhead. Then you pop the hood on your truck to change the oil filter, lean over the fender, and realize your own shoulders cast a pitch-black shadow directly across the engine bay.
That glaring central light fixture makes your eyes water when you look up, yet your workbench corners and vehicle wheel wells remain dark enough to require a flashlight.
Online retailers market high-lumen deformable bulbs as one-stop miracles for home workshops. In real garages, a single concentrated light source creates harsh glare while leaving critical work zones in shadow. Here is how to run proper lumen calculations and layout linear fixtures to banish shadows permanently.
Garage Lighting Options at a Glance
Compare optical throw, installation effort, and real costs before hanging fixtures.
Deformable Screw-In Fan Bulbs
Basic storage sheds with no active repair or woodworking benches
- Screws directly into factory ceiling sockets in 30 seconds with zero wiring
- Harsh point-source glare
- Casts heavy shadows across hoods and workbenches
4-Foot Linkable LED Shop Strips (5000K)
Active DIYers doing automotive service, carpentry, and fabrication
- Spreads 27,000+ lumens evenly
- Plugs together on one ceiling outlet switch
- Lightweight aluminum housing
- Stock connecting cables run short on 12-foot ceilings
Commercial Hardwired Direct-Wire Troffers
Finished drywall ceilings where owners refuse exposed daisy-chain cords
- Seamless architectural finish
- Rated for 50,000 hours with zero exposed cord
- Demands junction boxes, conduit bending, and a licensed electrician
The Myth of the “Deformable Trilight Bulb”: High Lumens, Terrible Throw
Deformable LED bulbs with adjustable aluminum wings look impressive on video. You fold the panels down, and a blinding blast of light fills the room from a single socket.
Optically, that setup represents a point source. A point source radiates light outwards from a single cluster, casting deep, high-contrast shadows behind any solid object blocking its line of sight.
When you stand at your workbench, your torso blocks the light coming from the center of the ceiling. When you pull a car into the bay, the roof panel blocks light from reaching the floorboards, and the open hood blocks light from reaching the radiator core support.
Professional workshops rely on linear diffuse lighting. Instead of a single high-output orb, you distribute moderate-output light across multiple 4-foot fixtures spaced evenly around the perimeter of the room. Multiple overlapping light cones wash out shadows from every angle.
The Lumen Formula: How Much Light Do You Actually Need?
The Illuminating Engineering Society (IES) recommended illuminance for workshop work areas calls for 50 to 100 foot-candles (500 to 1,000 lux) of ambient light at bench height for detailed mechanical and woodworking tasks.
Stop buying lighting fixtures based on input wattage. Wattage merely measures how much electricity a bulb pulls from the wall; lumens measure the actual quantity of visible light emitted.
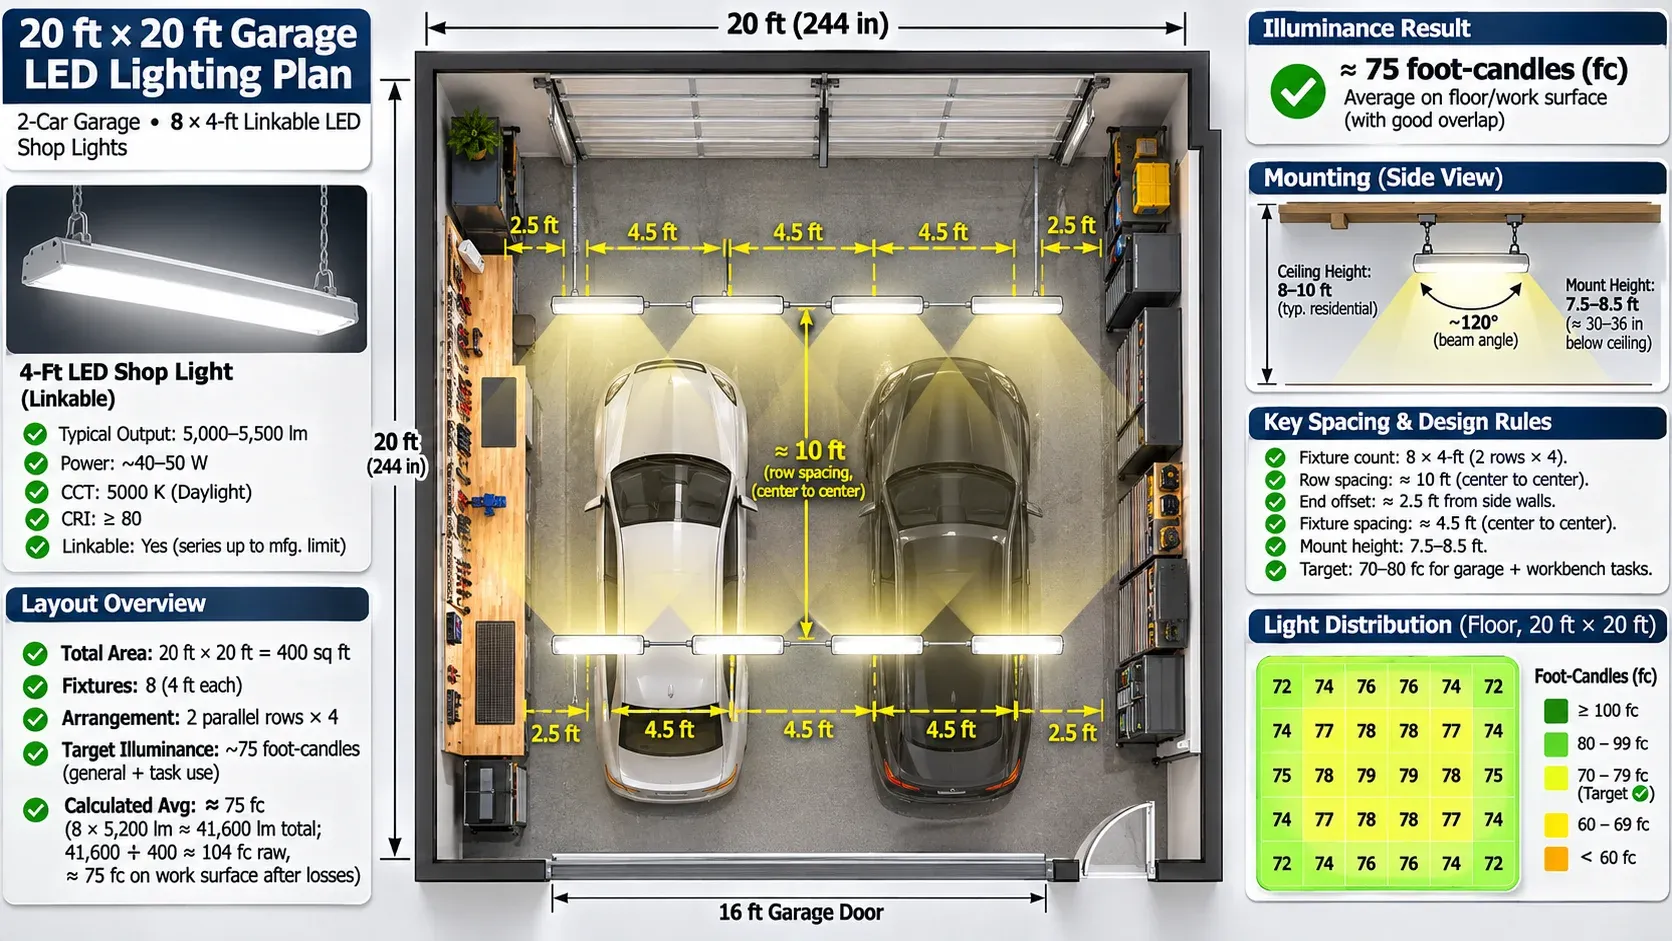
Top-down architectural garage floor plan diagram for a 20x20 foot 2-car garage showing optimal LED lighting grid layout, 8 linkable 4-foot shop fixtures arranged in two parallel rows over car bays and task workbench zone, light cone overlaps achieving 75 foot-candles, crisp blueprint aesthetic with dimensional callouts.
Calculate your requirements using target lumens per square foot:
| Workshop Activity Level | Recommended Lumens per Sq.Ft | Required Lumens for 20x20 Garage (400 sq.ft) | Required Lumens for 24x24 Garage (576 sq.ft) |
|---|---|---|---|
| Parking and Household Storage Only | 30 lumens / sq.ft | 12,000 lumens | 17,280 lumens |
| General DIY Maintenance & Woodworking | 75 to 90 lumens / sq.ft | 30,000 to 36,000 lumens | 43,200 to 51,840 lumens |
| Precision Metalwork, Engine Assembly, Detailing | 100+ lumens / sq.ft | 40,000+ lumens | 57,600+ lumens |
A typical two-car suburban garage spans roughly 400 to 480 square feet. For an active home workshop where you change brake pads and run table saws, you need approximately 32,000 to 38,000 total lumens spread across the room.
To reach that mark, install six to eight 4-foot LED strip fixtures rated at 4,500 to 5,000 lumens each.
Color Temperature & CRI: Why 6500K Is Ruining Your Eyes
Color temperature dictates how your eyes process detail during long working sessions:
- 3000K to 3500K (Warm White): Excellent for living rooms, but looks yellowish and dim on garage concrete.
- 5000K (Daylight Crisp): The gold standard for mechanical workshops. It renders clean, bright white light that keeps you alert without blue tint glare.
- 6500K (Cool Blue): Avoid this common retail trap. 6500K emits an aggressive blue spike that causes pupil constriction, headaches, and eye fatigue after two hours under the hood.
Demand a Color Rendering Index (CRI) of 85 or higher. Cheap bulbs feature low CRI ratings below 70, making colored wires in wiring harnesses look washed out and muddy. Under high-CRI 5000K lighting, you instantly distinguish pink coolant from transmission fluid and red-tracer wires from brown ground cables.
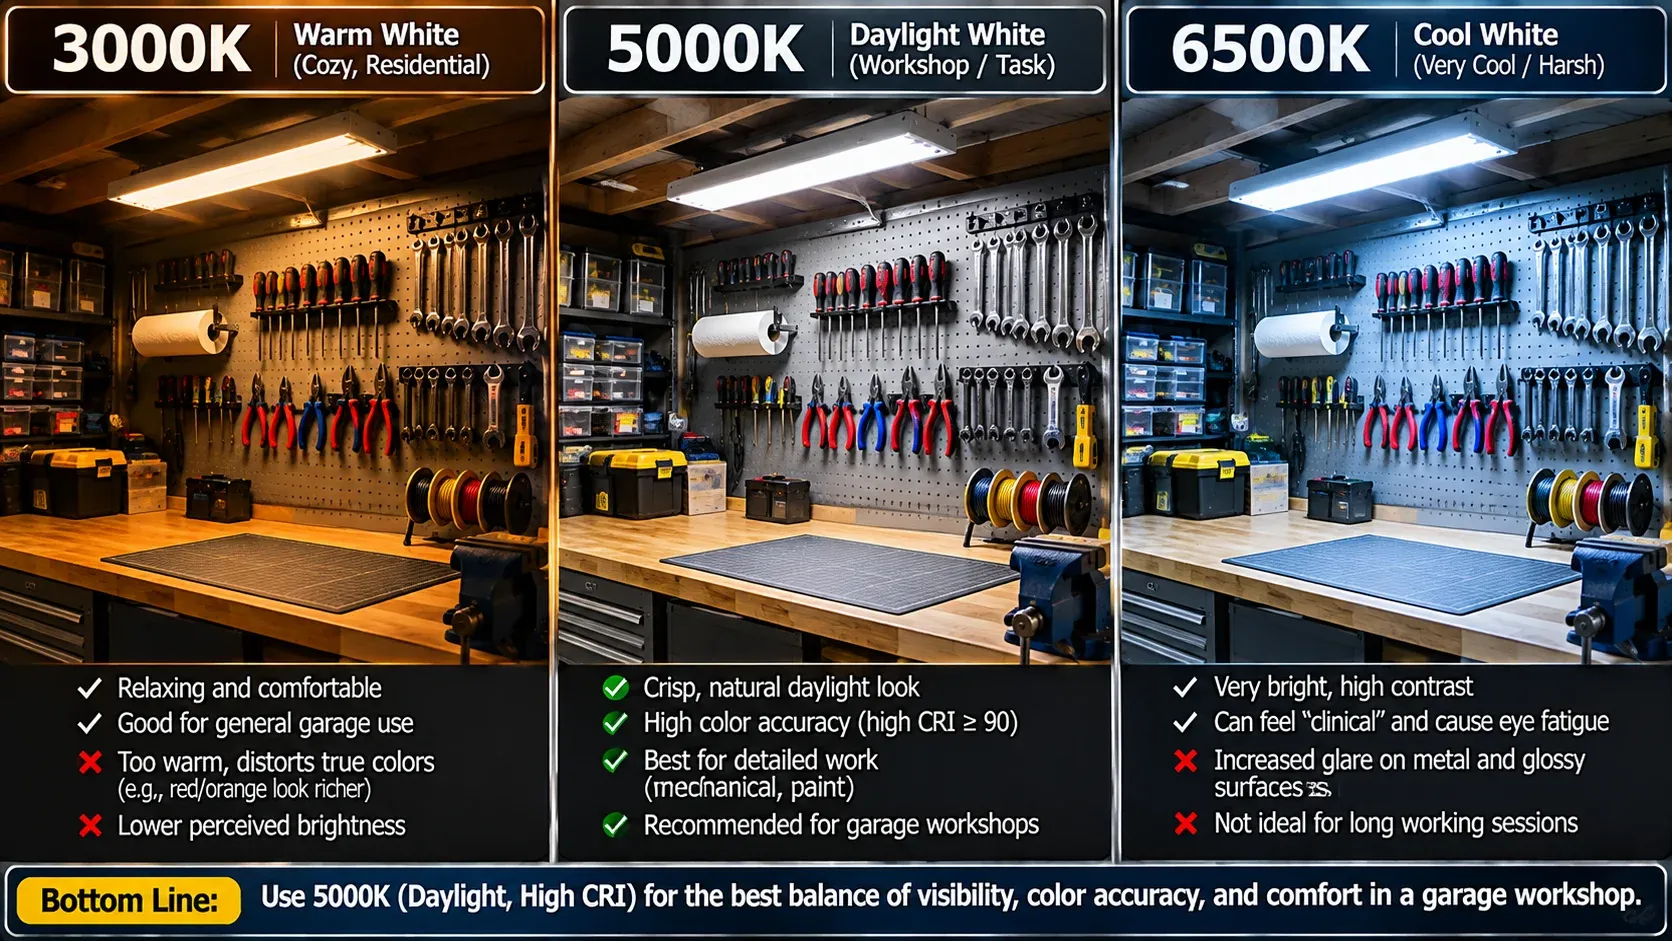
Three-way split photographic comparison of the exact same garage workbench scene illuminated by different lighting: left 3000K warm yellow dim, center 5000K crisp neutral daylight high CRI showing accurate tool and wire colors, right 6500K harsh bluish cold light causing glare, informative comparison graphic.
The Linkable Strip Solution: Daisy-Chaining 4-Foot Fixtures
You do not need to cut drywall or run new romex wiring to illuminate your workshop. Modern T8-style LED fixtures feature male-female terminal plugs that link together in series on a single power circuit.
You plug the master fixture into your existing ceiling outlet, hang the remaining strips from ceiling joists using small screw hooks, and interconnect them using short link cables.
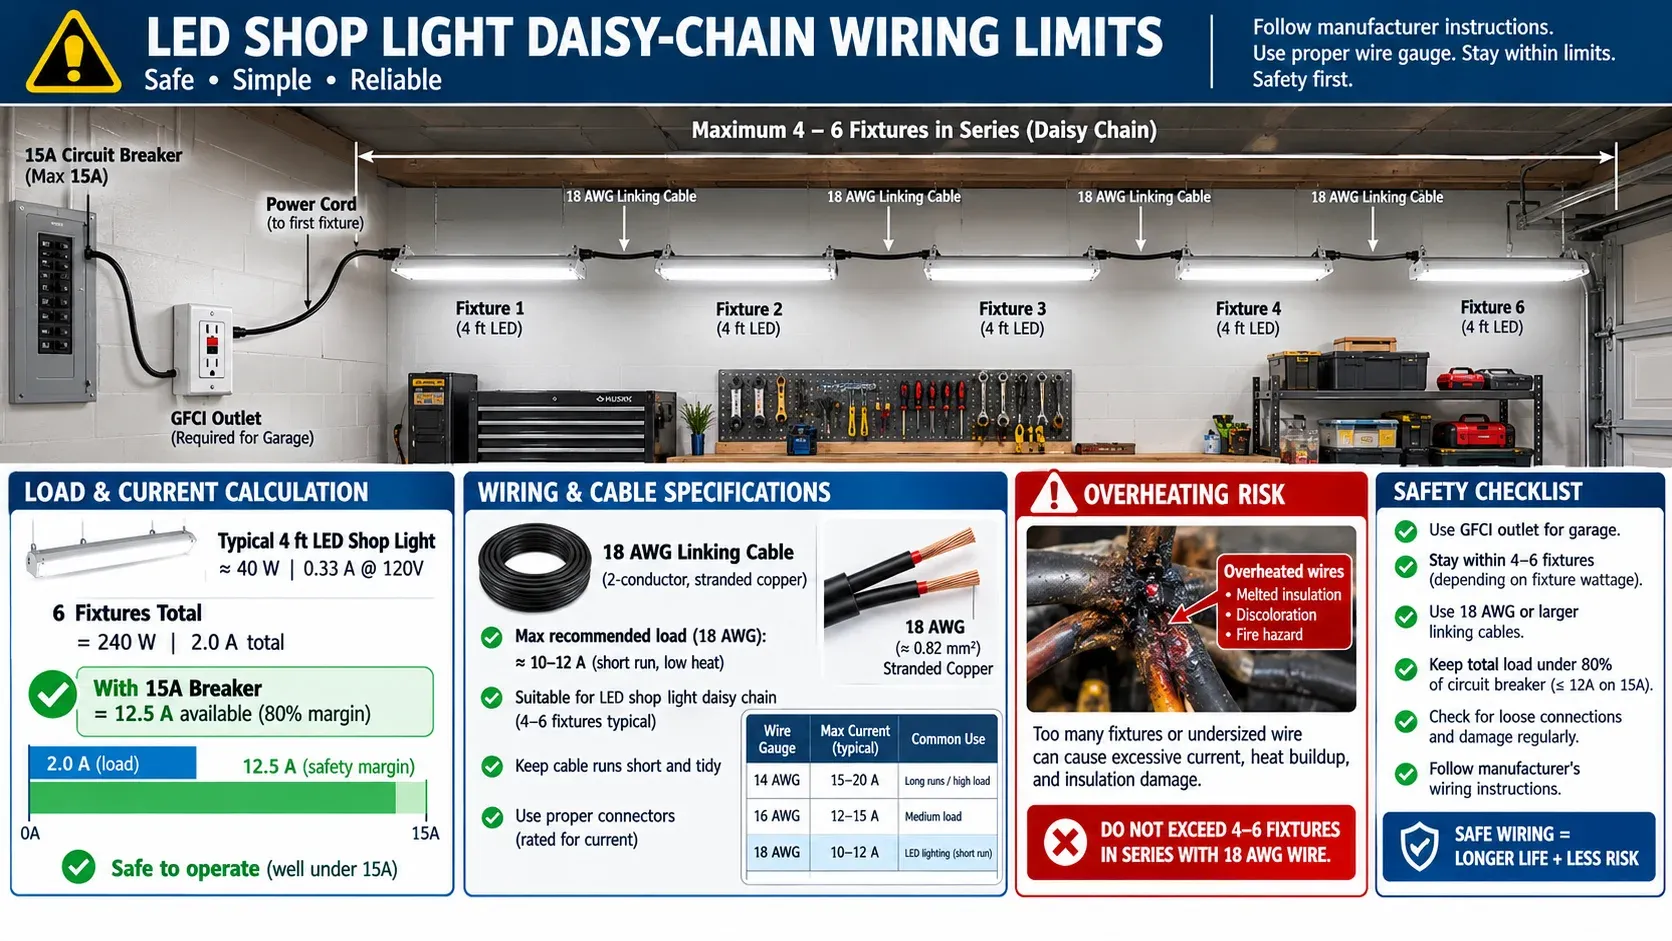
Technical electrical safety diagram showing daisy-chained LED shop light wiring limits, power cord connected to GFCI outlet, max 4 to 6 fixtures connected with 18 AWG linking cables, amp draw calculation callout showing safe operating margin under 15A breaker, warning callout on wire overheating.
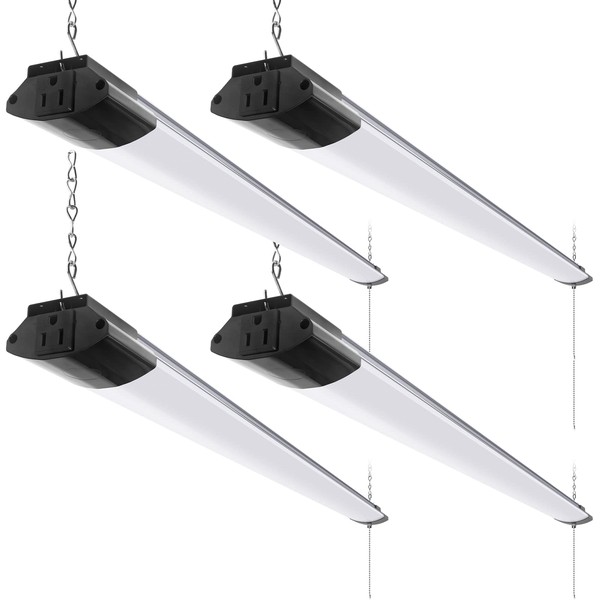
Barrina 4-Foot Linkable LED Shop Light 6-Pack (5000K)
Best For: Delivering 27,000 lumens of shadow-free diffuse light in a two-car garage
Est. Price: $69.99
"The most cost-effective lighting upgrade in home DIY. One six-pack floods a 400-square-foot shop with shadow-free white light."
- +Pumps out 4,500 lumens per tube at only 40 watts of electrical consumption
- +Links up to 6 fixtures together seamlessly using included snap-on jumpers
- +Weighs less than one pound per strip for effortless single-person joist mounting
- -Lightweight aluminum backing bends easily if dropped during ladder installation
- -Stock 48-inch interconnect cords run short if spacing fixtures across wide joists
The Perimeter Grid Layout (Where to Hang Your Lights)
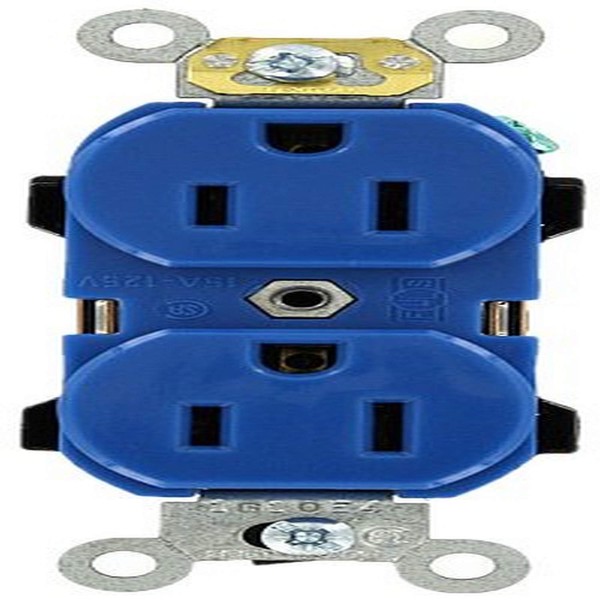
Leviton 5248-W Heavy-Duty Duplex Ceiling Receptacle Outlet (15A 125V)
Best For: Powering overhead LED shop lights cleanly without messy extension cords
Est. Price: $8.49
"Ditch the string of hanging extension cords; hardwiring switched duplex outlets on ceiling bays gives you professional, code-compliant lighting power."
- +Commercial-grade thermoplastic construction withstands workshop vibration
- +Dual wiping contacts grip light plug prongs securely overhead
- +Side-wire and back-wire clamps ensure quick, secure connections
- -Demands a dedicated junction box on ceiling joists
- -White finish shows shop dust if left uncleaned
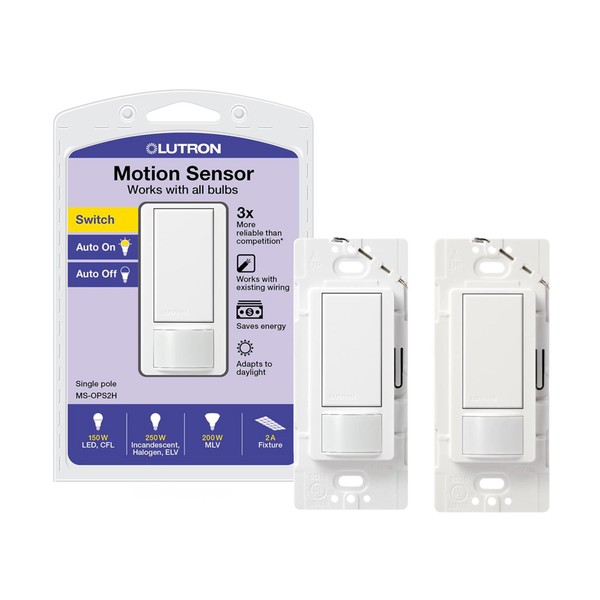
Lutron Maestro Motion Sensor Wall Switch (Occupancy/Vacancy 2A)
Best For: Automatically illuminating the garage when carrying tools or groceries
Est. Price: $24.95
"Walking into a pitch-black garage with both hands full of sheet goods or tool cases is a hazard; this switch floods your workspace with daylight-bright LED light instantly."
- +Passive infrared detects movement up to 900 square feet with 180-degree field of view
- +Keeps lights off automatically when ambient daylight through windows is sufficient
- +No neutral wire required for quick replacement in older wall switch boxes
- -Can shut off if you remain perfectly stationary under a car for extended periods
- -Max load rating handles up to 150W LED arrays (roughly 7 standard 20W shop lights)
Never hang your primary light run directly over the center line of your parked vehicles. The roof of your car blocks that overhead light, casting darkness along the rocker panels where you position floor jacks.
Arrange your six fixtures in a perimeter rectangle:
- Two outer side runs: Mount two 4-foot fixtures end-to-end along the left side wall, roughly 24 inches inward from the studs. Repeat with two fixtures along the right side wall. This illuminates car doors, wheel wells, and wall storage racks.
- One front bumper run: Mount one or two fixtures across the front of the garage, roughly 36 inches forward of where your vehicle bumper rests. When you raise the car hood, light floods directly into the engine compartment from the front without shadows.
- One dedicated task light: Mount a single 4-foot fixture directly over the front lip of your workbench, positioned 36 inches above the work surface. This prevents your head from casting a shadow over your vise or drill press.
Keep the garage door track clearance in mind before screwing hooks into ceiling joists. Measure where your overhead door sits when fully raised so the steel door panels do not clip your fixtures.
3 Costly Mistakes When Installing Garage Lighting
Avoid these installation oversights:
- Exceeding the manufacturer daisy-chain limit: Linking more than 6 or 8 fixtures in series overheats thin gauge internal jumpers, melting plugs and creating fire hazards.
- Ignoring the garage door clearance envelope: Mounting fixtures in the travel path of an overhead garage door leads to smashed tubes the first time your opener cycles.
- Leaving old magnetic ballasts in place: Retrofitting modern LED tubes into buzzing 30-year-old fluorescent ballasts wastes energy and causes chronic light strobing. Discard old magnetic fixtures and mount standalone linkable strips.
The Bottom Line on Workshop Lighting
Throw away the folding tri-light bulbs and stop working in your own shadow.
Pick up a 6-pack of linkable 5000K LED strips for $70, hang them along your garage perimeter, and plug them into your ceiling outlet. You will turn a gloomy cave into a bright, professional workspace in less than two hours.
Integrating Your Workshop Electrical Drops
A bright workshop is only as reliable as its electrical delivery infrastructure.
Ensure your branch circuits support heavy tool draws without dimming your LED fixtures by following our construction guide on wiring a serious garage workshop subpanel.
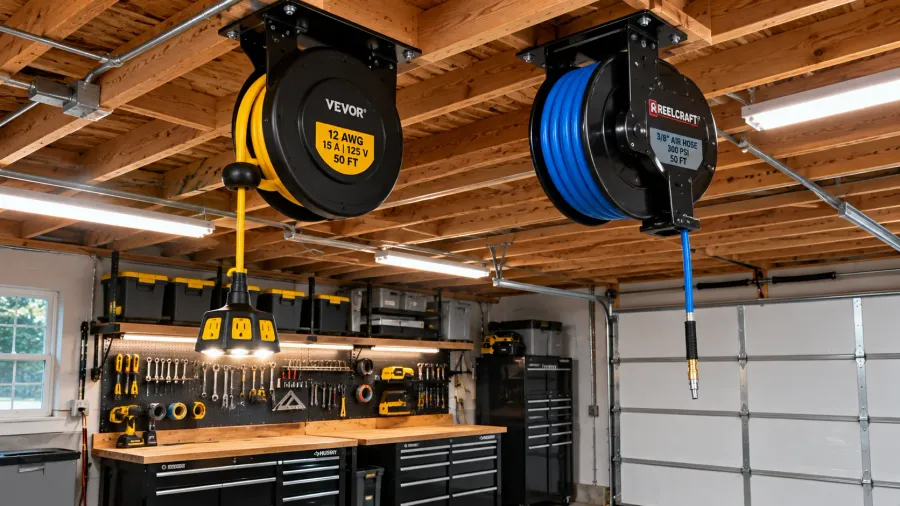
To route power drops straight over your workbench without dangling cables in your line of sight, install ceiling drops using our guide on overhead retractable cord and air hose reels.
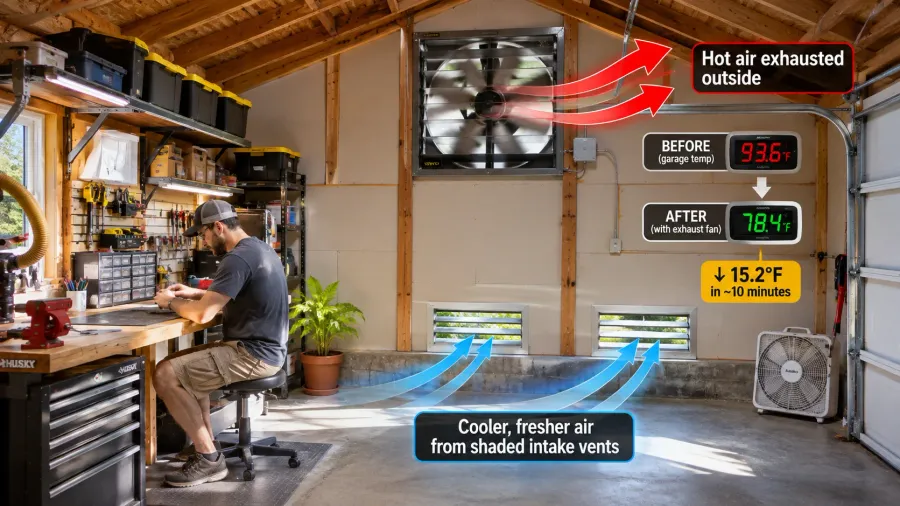
And if you spend long hours under high-output fixtures in summer, maintain comfortable working airflow using our cooling a hot garage blueprint.

Hank Miller
Hank is a master craftsman and DIY mechanic based in Ohio. He tests workshop equipment, garage floor coatings, and power tools under brutal, real-world workshop conditions, with zero paid brand sponsorships.