How to Stop Water From Coming Under Your Garage Door: The $80 Fix That Beats a Trench Drain

Waking up to muddy puddles and rusted tool cabinet bases after a heavy rainstorm? Here is how to create a 2-stage rubber water dam without cutting concrete.
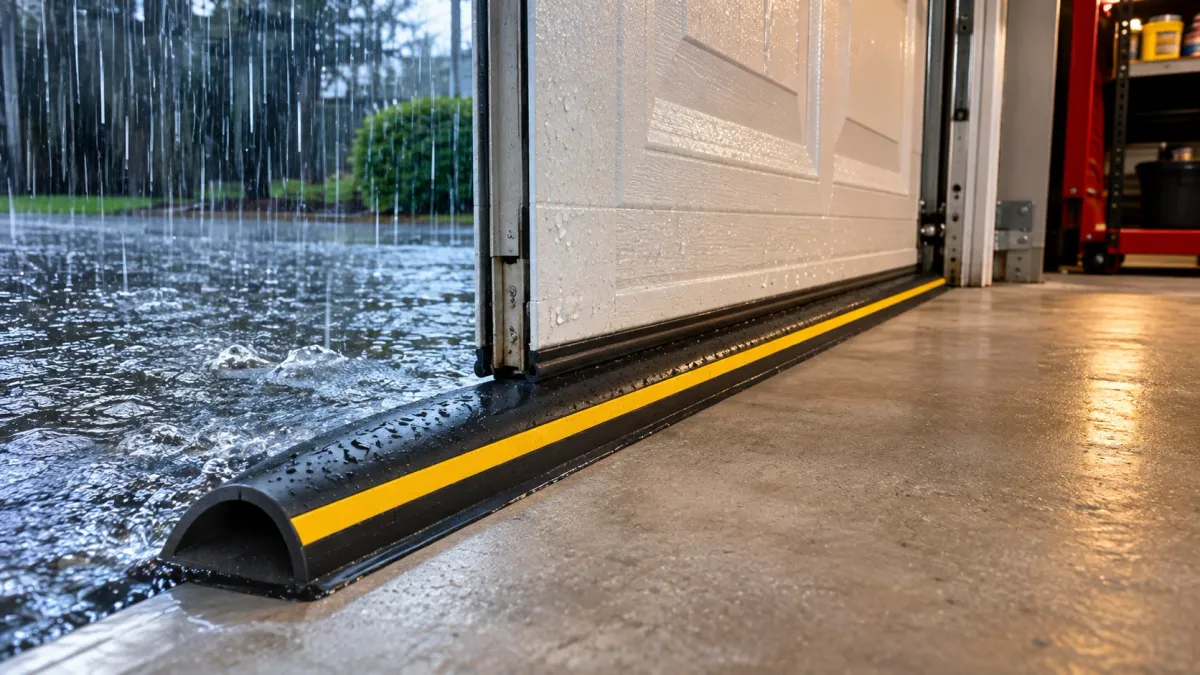
Table of Contents5 Sections
Stepping into your garage after a midnight thunderstorm only to find your boots splashing in two inches of muddy water ranks among the most infuriating experiences in homeownership. Water creeps past the bottom door seal, soaks into the bottom of cardboard storage boxes, and leaves rusty tidemarks along the bases of your steel tool cabinets.
Local contractors will happily quote you $2,500 to saw cut a concrete trench drain across your driveway apron.
In 90% of suburban homes, you do not need major excavation to keep stormwater outside. Wind-driven rain pushes under garage doors because factory vinyl sweeps crack and flatten within three seasons. Building a dual-defense barrier using heavy-duty EPDM rubber seals and industrial polyurethane adhesive blocks standing water for less than $80 in an afternoon.
Water Intrusion Triage: Identify Your Inflow Route
Inspect your driveway grade and water patterns before purchasing hardware.
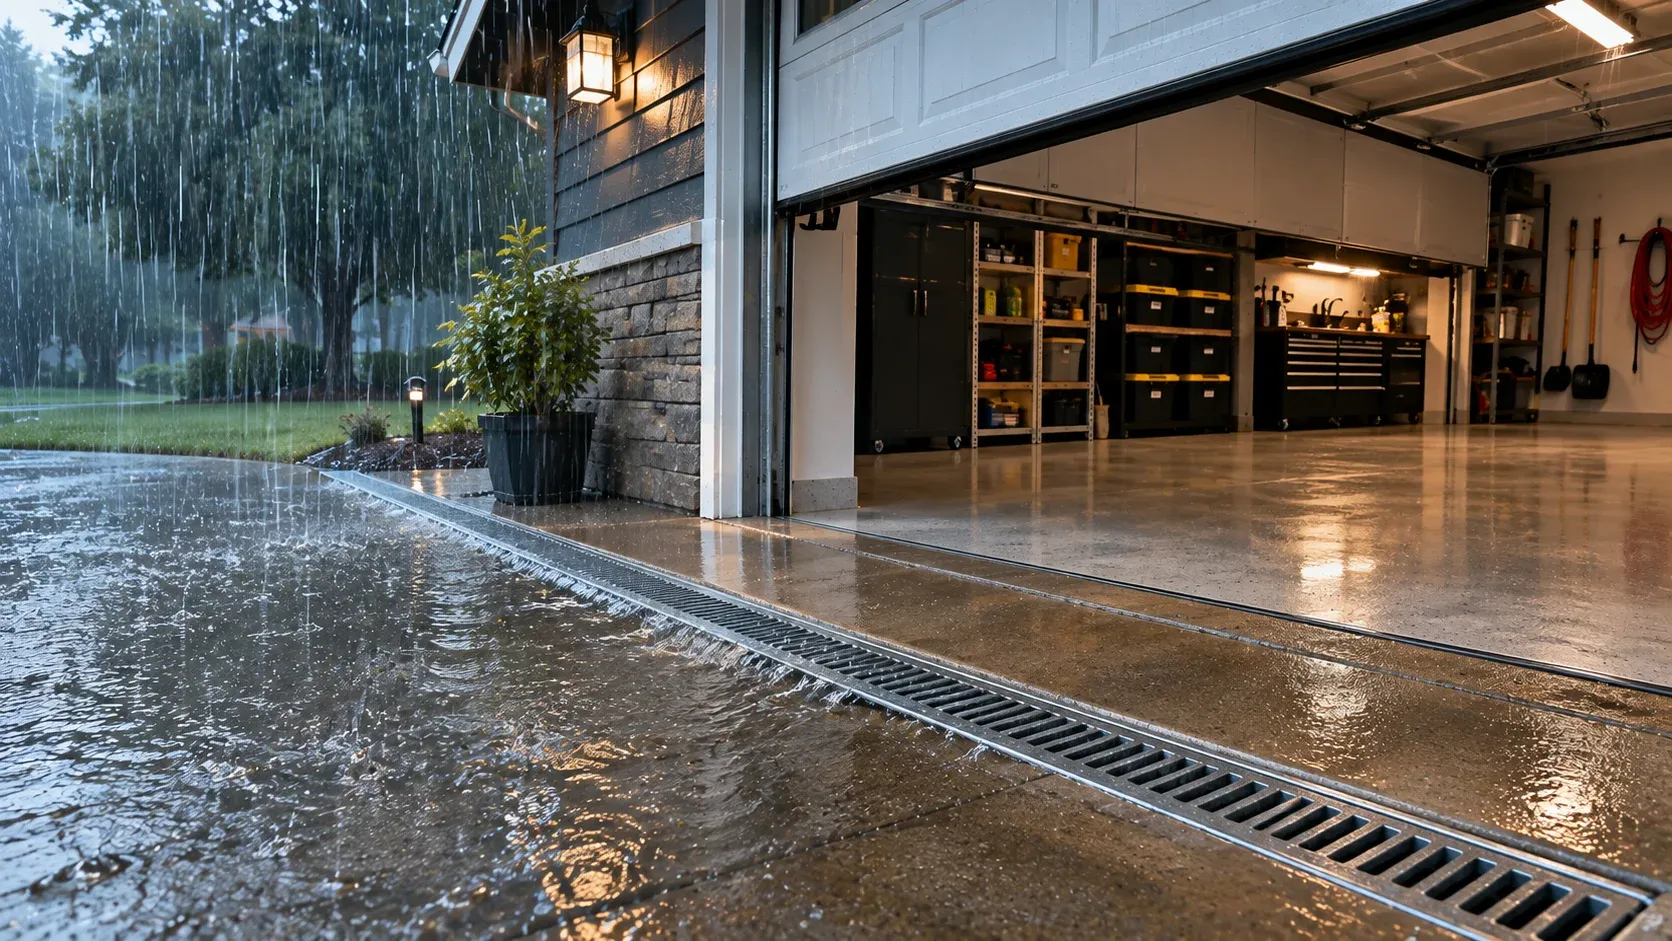
Water forms shallow pools extending 1 to 3 feet past the door after high-wind storms
Water trickles into the garage from exterior puddle pooling outside closed door
Rushing sheet of water cascades down a steep hillside driveway straight at the door
The Flaw of Factory Seals: Why Closed Doors Still Leak
The Federal Emergency Management Agency (FEMA) guidance on residential surface water control stresses that exterior thresholds must actively divert driving rainfall away from building foundations rather than relying on flat contact.
To see why your closed garage door leaks, perform a simple light check: Step inside your garage during daylight hours, shut the overhead door completely, and turn off interior shop lights.
Crouch down and inspect the bottom threshold. In nearly every home older than three years, bright daylight beams through the corners and under low spots where the concrete dipped during the pour.
Factory overhead doors ship with cheap, paper-thin vinyl weatherstrips crimped into aluminum bottom tracks. Winter road salt and summer UV rays dry out plasticizers, causing the vinyl to curl upward and shrink. When wind-driven rain hits the vertical face of the door, stormwater runs down the metal skin, slips through those dried gaps, and pools across your floor.
Garage Water Defense Options Compared
Compare materials, installation timelines, and barrier heights before purchasing.
Heavy-Duty EPDM Rubber T-Bulb Sweep
Replacing brittle stock door seals on residential overhead doors
- Slides into factory aluminum bottom track
- Cushions door closure down to -40°F
- Cannot bridge floor depressions deeper than 3/8-inch without a floor threshold
Floor-Mounted EPDM Rubber Threshold Dam
Wind-driven rain, pooling puddles, and stopping autumn leaves and dust
- Creates a permanent 1/2-inch solid rubber dam that stops pooling water dead
- Must clean concrete completely to ensure permanent polyurethane chemical adhesion
Saw-Cut Concrete Trench Drain
Homes built at the bottom of steep hillside driveways only
- Evacuates hundreds of gallons of rushing hillside storm runoff away from bay
- Demands jackhammering concrete, laying PVC pipes, and tie-ins to municipal storm lines
Step 1: Upgrading to a Heavy-Duty EPDM Rubber T-Bulb Sweep
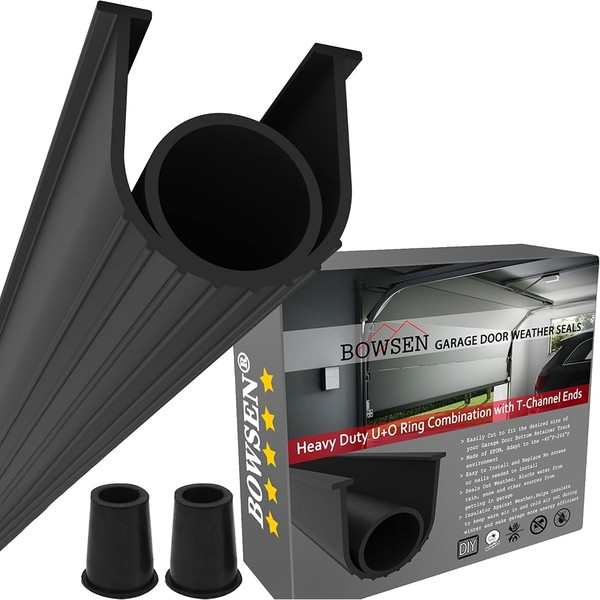
Bowsen Heavy-Duty 1/4-Inch T-End Rubber Weatherstripping Seal (16-Ft)
Best For: Replacing brittle factory vinyl sweeps with durable cold-weather EPDM rubber
Est. Price: $21.99
"Factory vinyl sweeps turn brittle as glass in winter; replacing your bottom sweep with heavy EPDM rubber creates the first flexible water seal."
- +Heavy EPDM synthetic rubber stays flexible down to -40°F without cracking
- +Standard 5/16" and 1/4" T-ends slide into existing aluminum bottom retainer tracks
- +Extra-wide 3-3/4-inch bulb profile seals uneven concrete depressions up to 1/2-inch
- -Sliding through 16 feet of aluminum track requires soapy water and two people
- -Track channel must be cleaned of road grime and dried salt before installation
Replacing the bottom sweep is only half the battle. If wind-driven rain blows past your door jambs, check my guide on how to seal gaps around your garage door frame to adjust the perimeter vinyl trim flush against the exterior door skin.
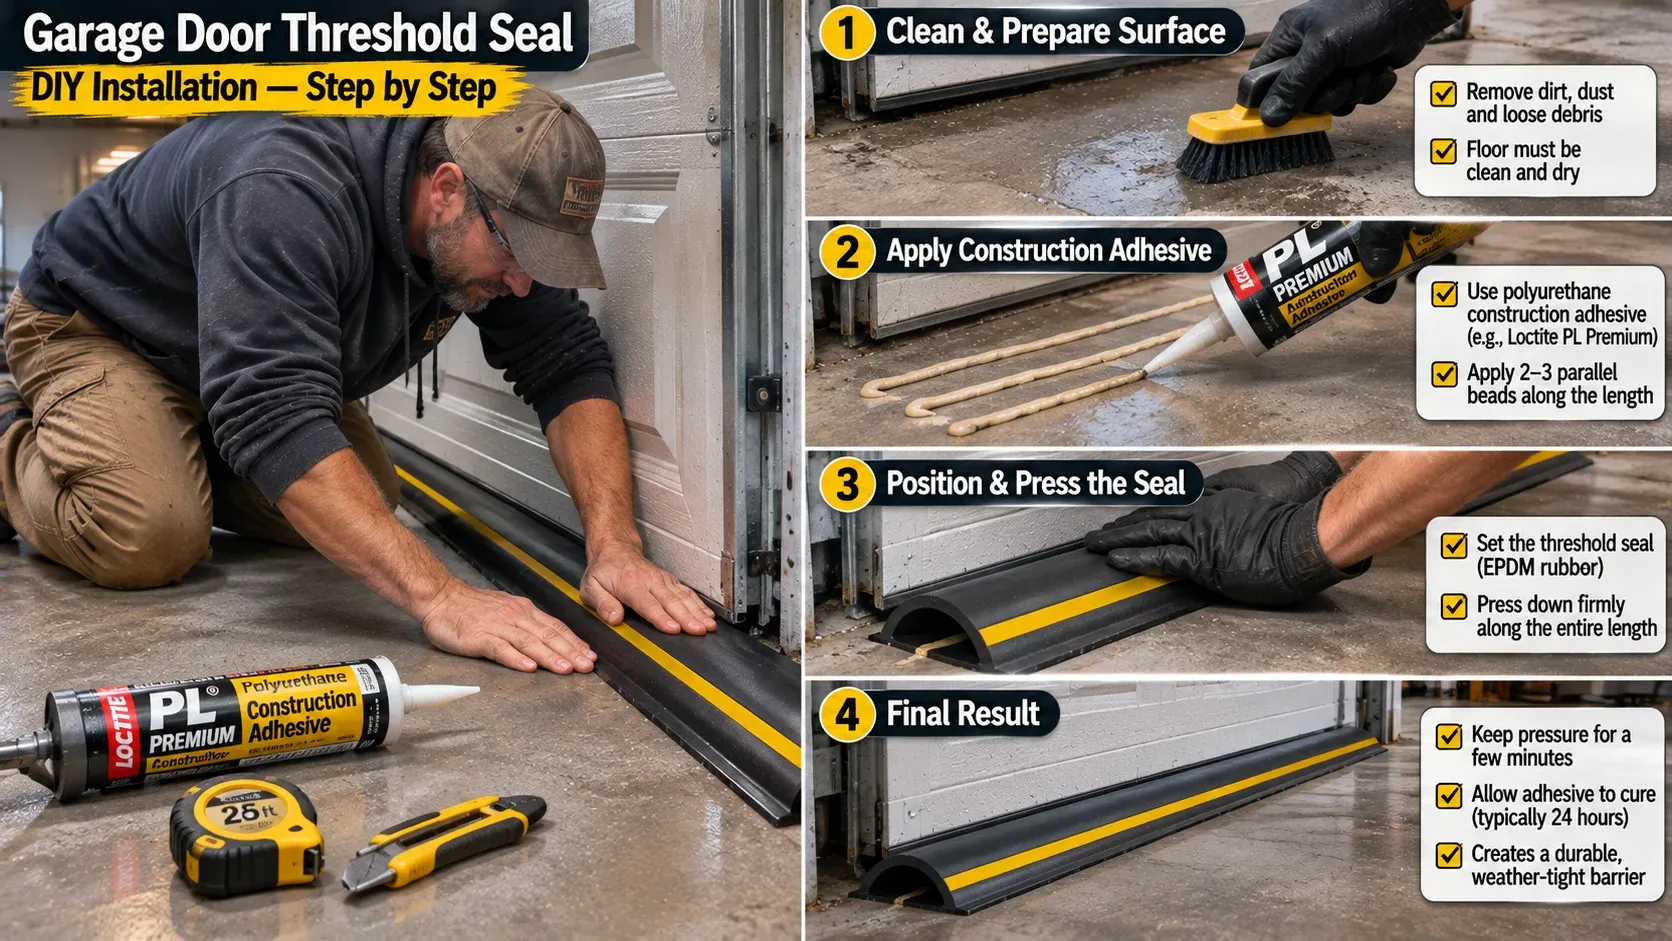
Step-by-step DIY installation photo of an EPDM rubber garage door threshold seal, homeowner dispensing heavy beads of polyurethane adhesive from a caulk gun onto cleaned concrete floor in a zigzag pattern, positioning the notched threshold strip, garage door lowering down to press seal.
Your first layer of defense mounts directly to the bottom aluminum retainer of the overhead door.
Slide out the brittle stock vinyl strip and install a 3.5 to 4-inch wide EPDM rubber T-bulb seal. EPDM synthetic rubber maintains full flexibility in sub-zero winter temperatures, compressing tightly against irregular concrete humps to seal off light drafts.
Follow this friction-free installation trick:
- Clean the aluminum channel: Spray dry silicone lubricant or soapy water into both internal tracks of the bottom aluminum retainer.
- Feed from one end with two people: Have one person guide the rubber T-beads into the aluminum slots while the second person pulls the rubber strip smoothly along the track from the far side.
- Leave two inches of overhang: Cut the rubber two inches longer than the steel door on both sides. Fold the excess rubber back inside the bulb cavity to plug the open ends, preventing mice and wind drafts from entering the hollow core.
Step 2: Installing a Floor-Mounted EPDM Rubber Threshold Dam
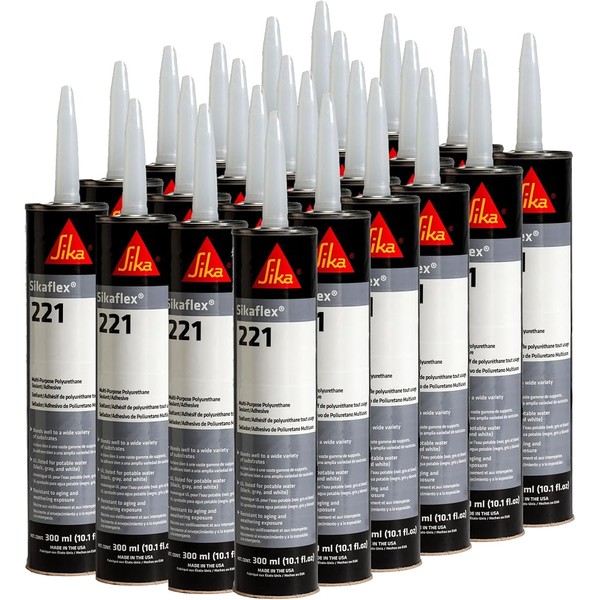
Sikaflex-221 Heavy-Duty Polyurethane Adhesive Sealant (10.1 fl. oz)
Best For: Bonding rubber and aluminum threshold dams permanently to concrete
Est. Price: $14.85
"Do not use cheap silicone or construction adhesive on a floor dam; commercial-grade polyurethane is the only chemical that will not peel under wet tire shear."
- +One-component moisture-cured polyurethane bonds aggressively to porous concrete
- +Retains flexible elasticity under vehicle rollover traffic and cyclic freeze-thaw
- +Resistant to motor oil, road salt, calcium chloride, and standing water
- -Cures slowly over 24-48 hours before vehicle tires can drive over the seam
- -Extremely sticky; demands acetone for tool cleanup and disposable gloves
If winter slush melting off your wheel wells compounds the puddle problem inside the door, pair your threshold with one of the heavy containment solutions from my garage snow and slush containment mat guide to keep saline runoff off your slab entirely.
Two garage door bottom rubber seals held in hand, left showing thin degraded flat vinyl seal, right showing heavy-duty heavy wall EPDM bulb-style U+O shape astragal seal with round foam core.
Upgrading the door sweep solves 60% of water leaks, but wind-driven rain pushing against a flat concrete apron still forces water under the rubber bulb.
To stop stormwater permanently, install a floor-mounted solid rubber threshold barrier. This EPDM ramp creates a raised 1/2-inch dam that sits directly behind the door sweep, forcing windblown water to hit the rubber wall and run back down the driveway.
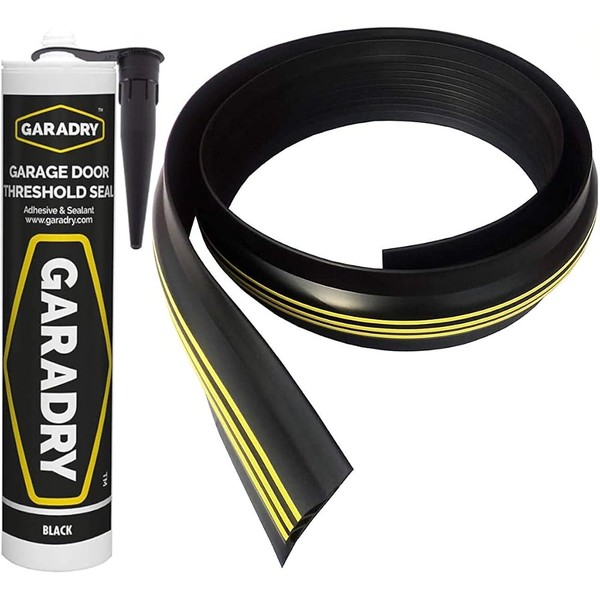
Garadry 1/2-Inch High Commercial Garage Door Threshold Kit
Best For: Creating an impermeable 1/2-inch watertight dam across two-car garage bays
Est. Price: $79.99 (16-Foot Kit)
"The definitive answer to rain blowing under garage doors. It stops pooling water instantly without trenching concrete."
- +Dense solid EPDM rubber withstands 60,000-lb vehicle drive-overs without crushing
- +Bright yellow center hazard line provides high visual contrast when backing vehicles into bay
- +Includes commercial moisture-curing polyurethane adhesive tubes in box
- -Requires complete floor scrubbing with acetone to remove road oils before adhesive bonding
- -Rubber strip ships tightly coiled; requires 24 hours unrolled in warm sun to lay flat before install
Follow these strict bonding steps:
- Position behind the door edge: Close your garage door completely. Lay the threshold strip against the floor so the vertical front shoulder of the rubber dam rests snugly against the interior face of your rubber door sweep.
- Mark your pencil lines: Trace pencil reference lines along the front and back borders of the threshold across the concrete floor, then open the door.
- Scrub concrete with solvent: Remove road film and tire grease between the pencil lines using a wire brush and acetone. Adhesive cannot bond to concrete coated in dried motor oil.
- Apply polyurethane adhesive: Never use cheap bathroom silicone caulk; vehicle tires will shear silicone loose in a week. Lay two continuous parallel beads of Sikaflex-1A or Loctite PL Marine polyurethane sealant inside your pencil lines.
- Press and weight the seal: Bed the rubber strip firmly into the sealant beads. Close the overhead door directly on top of the threshold to maintain downward clamping pressure while the polyurethane cures for 24 hours.
Sealing the Exterior Door Jamb Corners
Even with a top-tier threshold dam, water can leak around the bottom corners of your vertical wood jamb framing.
Builders frequently notch the exterior wood trim 1/2 inch above the concrete slab to prevent wood rot. That air gap lets rain blown against the siding run behind the weatherstripping and into your shop.
Inspect the bottom two inches of both side jambs. Fill that hollow wood-to-concrete corner with polyurethane sealant, and screw a piece of flexible vinyl flap over the corner to kick water out onto the driveway apron.
Once your floor dries out, inspect your concrete for oil stains pulled across the slab by standing rainwater; read our guide on how to pull deep oil stains out of concrete using a poultice treatment.
The Bottom Line on Garage Water Leaks
Do not let contractors convince you to spend thousands saw cutting concrete for standard rainwater leaks.
Pair a fresh 4-inch EPDM rubber T-bulb sweep with a floor-mounted Garadry threshold dam bedded in polyurethane adhesive. You will spend under $100, invest two hours on a Saturday afternoon, and keep your tools bone dry through the heaviest spring cloudbursts.
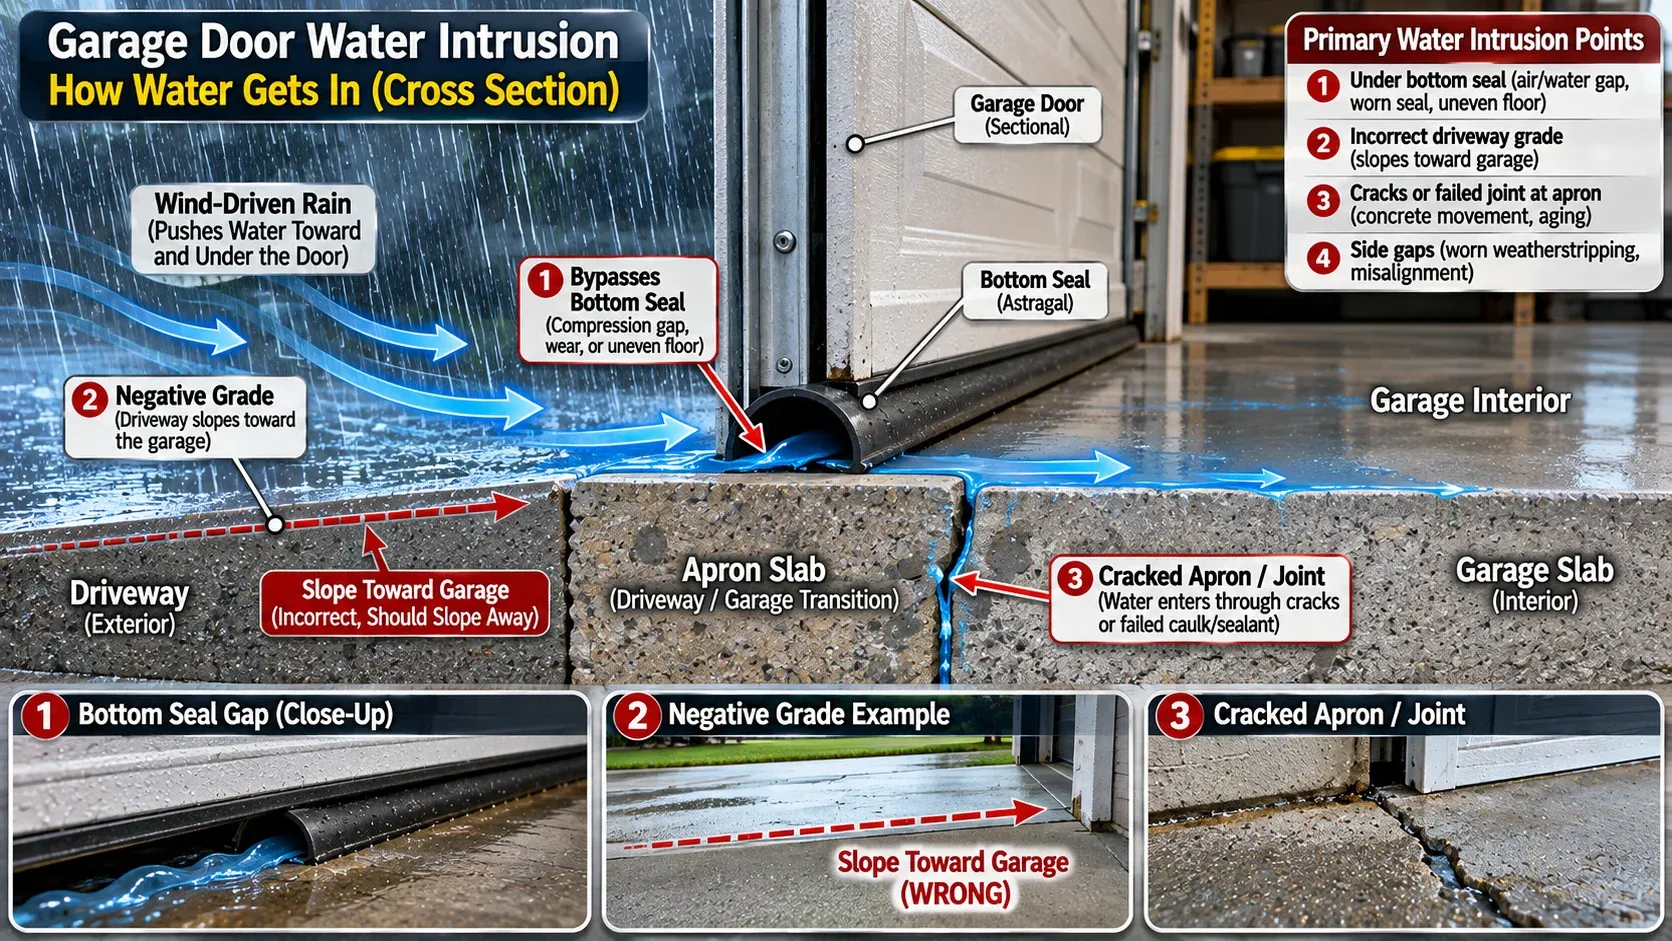
Technical architectural cross section diagram showing garage door water intrusion points, wind-driven rain pushing under bottom astragal seal, negative grade driveway sloping toward garage, cracked apron slab joint, blue water arrows, labeled engineering callouts.
Hank Miller
Hank is a master craftsman and DIY mechanic based in Ohio. He tests workshop equipment, garage floor coatings, and power tools under brutal, real-world workshop conditions, with zero paid brand sponsorships.